For as long as I could remember I've wanted a tufted headboard. I just did not want to pay the crazy price for one, especially since we have a California king bed. So naturally, I went on Pinterest to see if I would find a DIY on how to make one, but after seeing several posts I just knew I would never take the time out because they looked so complicated and time consuming. Until one day I came across a couple of blogs where they either used a staple gun (here) or screws/nails (here) to achieve the "tufted look". This was right up my alley.
Now before we get started let me apologize for the crappy and lack of photos (the ones I do have were taken with my IPhone). I was so excited to get started I didn't prepare for blog photos (oops). But nonetheless, I hope this tutorial helps.
These are the supplies you will need:
- PLYWOOD or PARTICLE BOARD (cut in the shape of your liking) if you need help choosing a shape look here. I chose the Alexander shape, simple and dint need a jigsaw.
- 1x4's or 2x4' cut to the height of your choice (mine were 1X4's cut 63 inches high)
- FABRIC of your liking and make sure you buy enough fabric (I purchased 4 yds of velour from Joann's)
- BATTING - pictured below (I wanted mine SUPER thick so I used 10yds)
- FOAM - pictured below (I used 3 1inch packs from Walmart)
- SPRAY ADHESIVE (Joann's)
- CRAFT COVER BUTTON KIT - pictured below (Joann's)
- STAPLE GUN (heavy duty with a whole bunch of extra staples)
- HOT GLUE GUN and/or FABRIC GLUE - pictured below (I used both)
- SCISSORS and/or KNIFE
- PAINT for the legs (optional)
Now let the fun begin!!
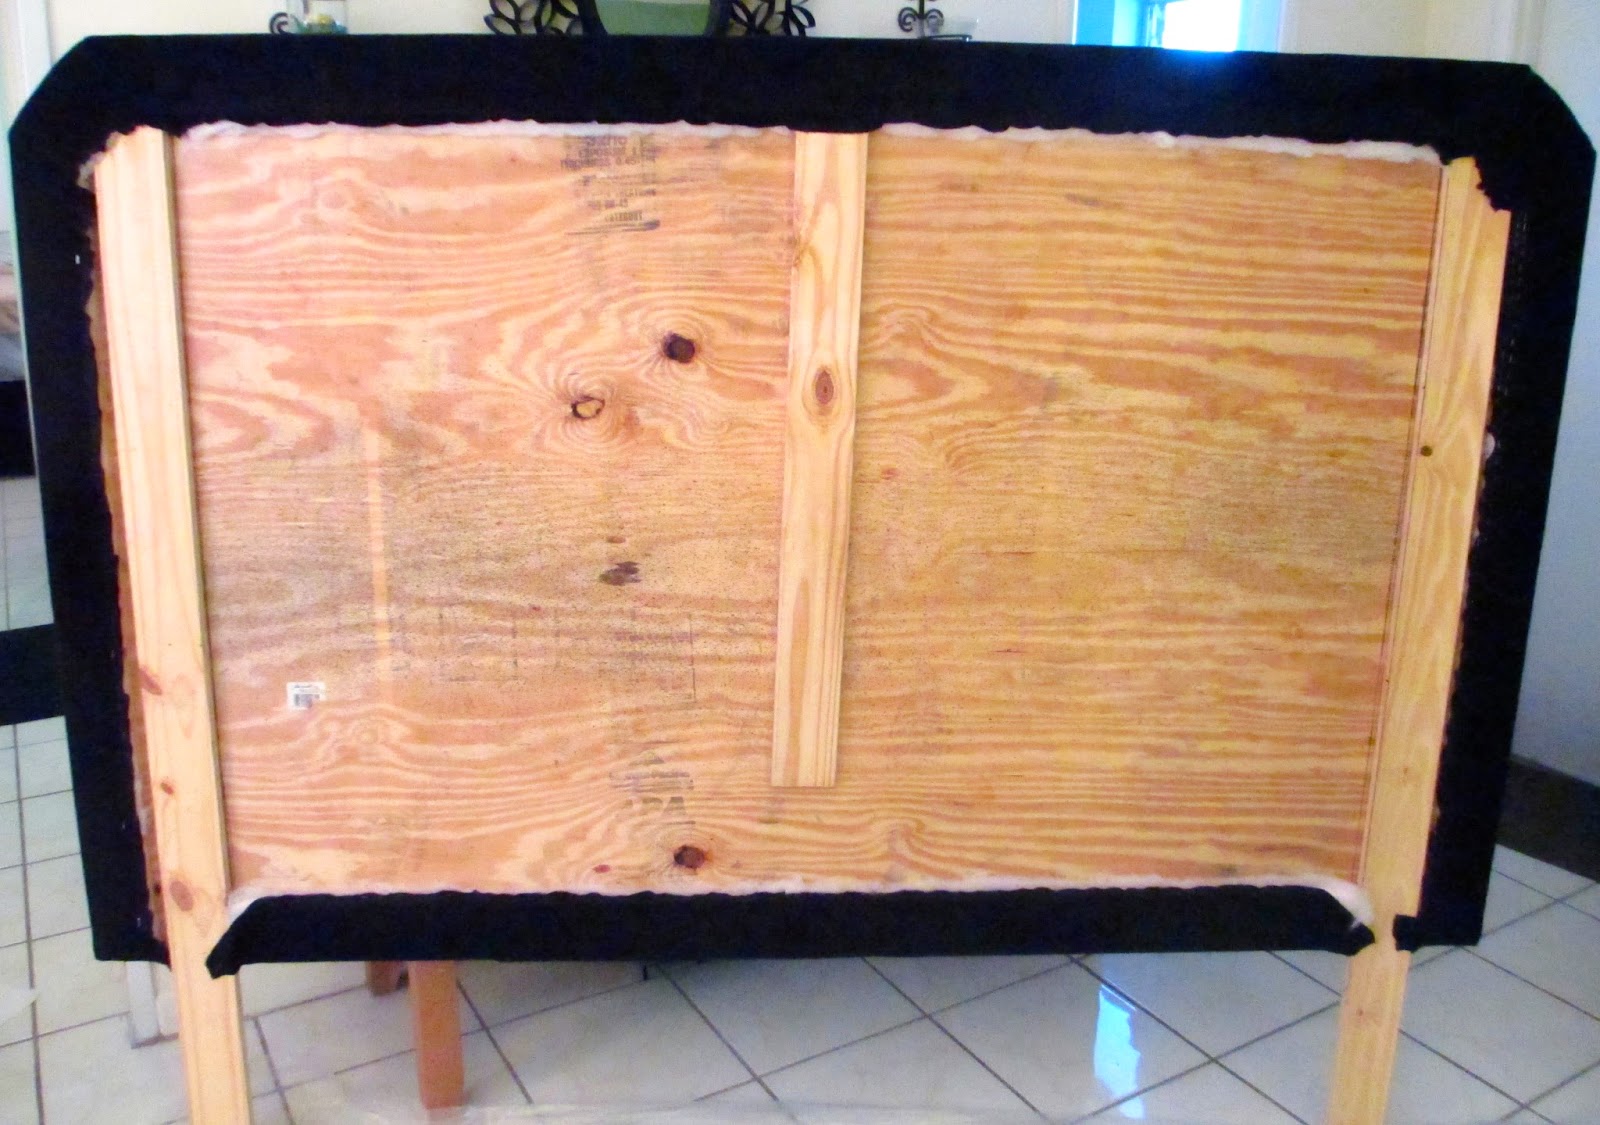
Once you have the plywood cut to the shape of your liking and the "legs" secured
(it should look something like this)
(We added the center post for added support and because we had no other use for it lol)
I cut the foam to the shape of the headboard and glued it to the wood with spray adhesive
(I added 2 layers of foam for extra thickness)
Once your foam is glued on, start adding the layer(s) of batting.
I had 5 layers of batting and the last layer I left it a little longer on the sides so that I could staple it to the back of the headboard. Once all the batting was secured, I laid the headboard on the fabric. Make sure you have an even amount of fabric on the sides and pull the fabric tight and start stapling (I started on the top center and worked my way towards the sides).
When you are done stapling your life away, trim the extra fabric.
It should look something like this..
Paint the legs (Optional). I used left over chalkboard paint.
While the paint dries, start making your buttons.
It's super easy, just follow the instructions on the package.
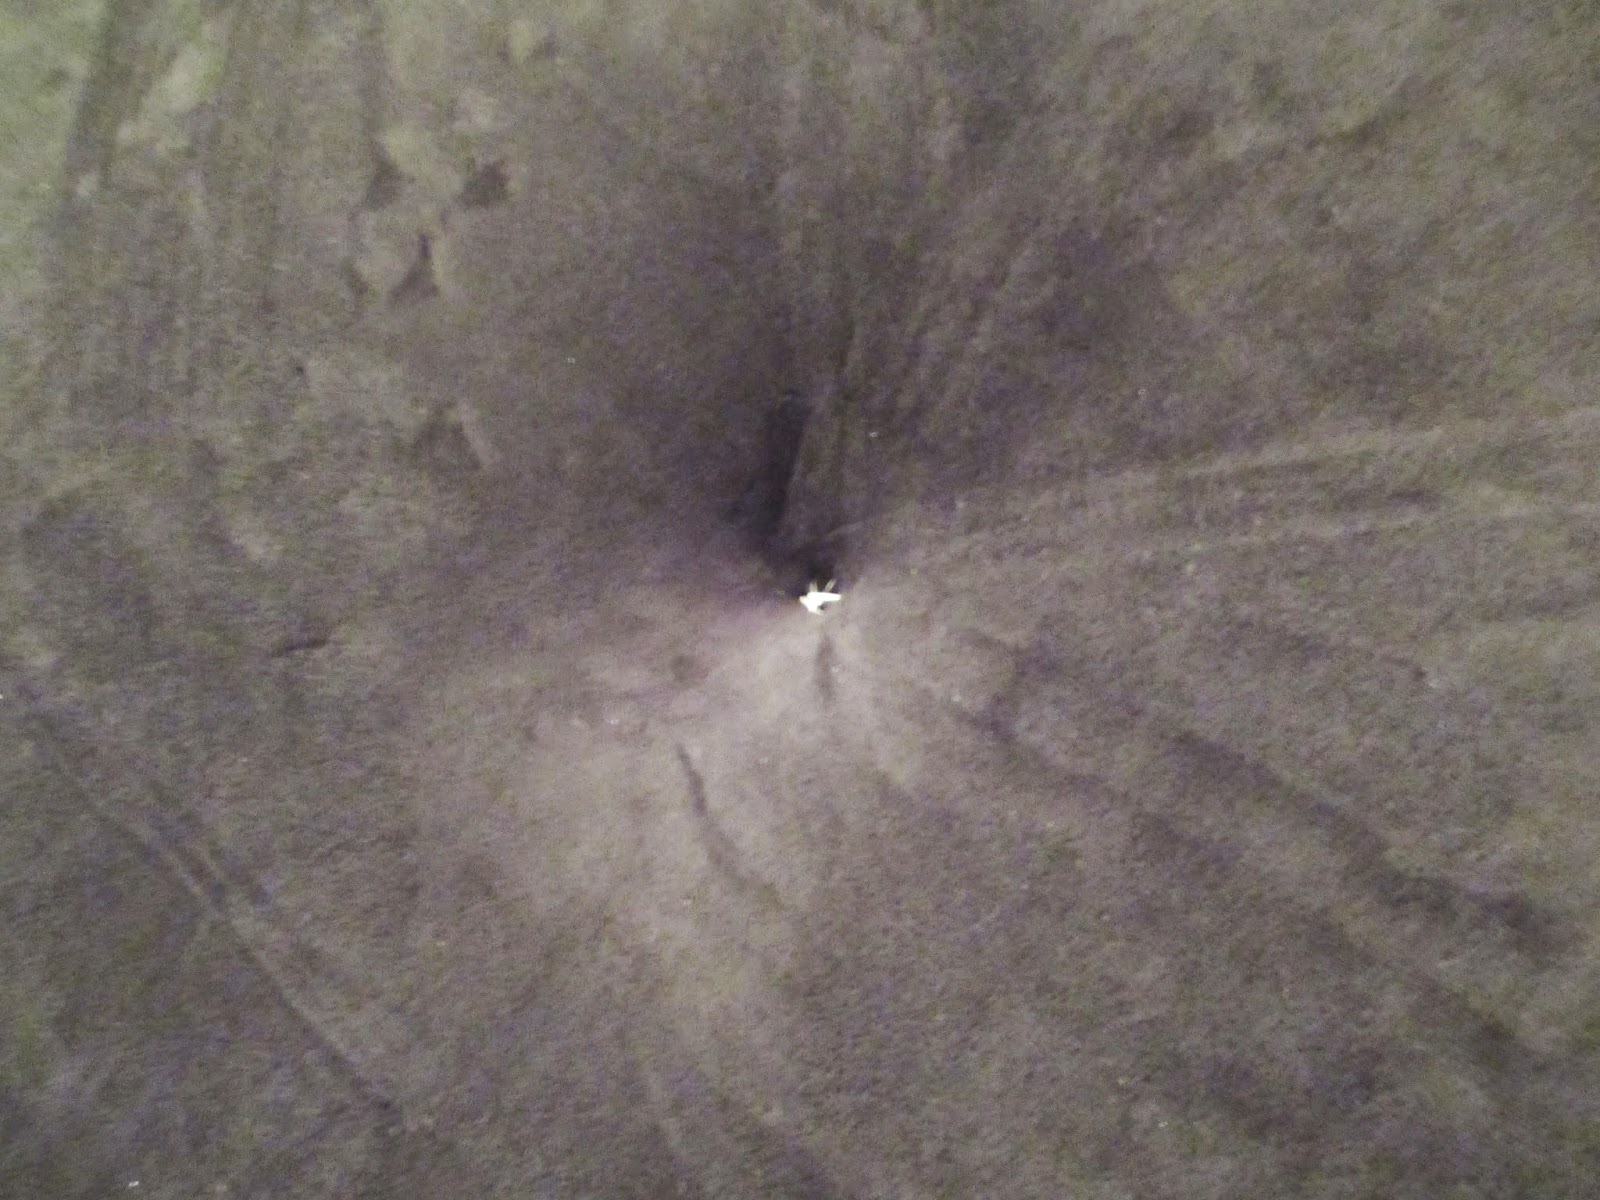
When you are done covering your buttons. Start calculating/measuring where you want the tufts to be. Now I'm going to be completely honest, I didn't not measure or calculate anything. I just winged it, I put the buttons where I thought they should be, made sure it looked even from all sides.
I started the stapling with the center button and worked my way out. At this moment I remember thinking, lord please don't let the fabric rip! I closed my eyes and pressed the staple gun down as hard as possible and stapled the fabric down.
I opened my eyes and voila! It worked!!
I then stapled each section 4 to 5 times, each time trying to cross the staple onto the next. This will make each section more secure and not put to much stress on the fabric, especially if you have lots of padding like mine.
Once you have stapled all sections. It should look something like this. Now all that's left is to glue on the buttons (which of course i did not take any photos of) but its easy just make sure you work quickly if your using a hot glue gun.
Once glued, it should look something like this.
I let the glue dry overnight before attaching headboard to bed frame.
and boom! All done!!
Here's a before picture of our bedroom (BORING)..
And here's the after…
Unfortunately since I chose black fabric its hard to see the tufts but trust me they are there :) Now I'm just waiting on our new comforter to arrive and the bedroom will be complete.
Hope you enjoyed this tutorial!
xoxo,
Cookie


No comments:
Post a Comment